Front end development capabilities saw a huge boost with the release of Visual Studio 2015 and the seamless integration of Npm, Grunt and Bower. In the first part of this series I’ll summarize quickly how to get started creating an AngularJS and ASP.NET 5 WebApi application. First of all, you’ll need the following tools:
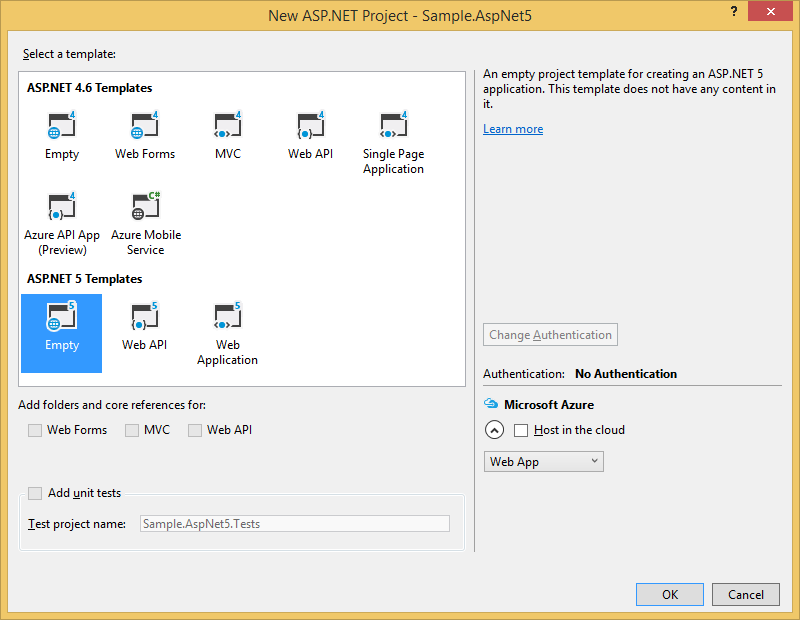
Then, create a new web application project using the ASP.NET 5 Templates :
Add an index.html file inside the wwwroot folder.
<!DOCTYPE html>
<html>
<head>
    <meta charset="utf-8" />
    <title></title>
</head>
<body>
    <p>Hello</p>
</body>
</html>
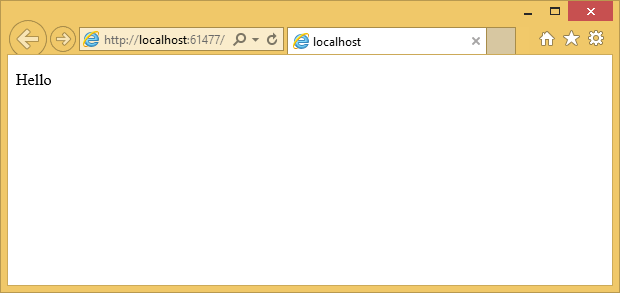
This folder will be the root of your application, from the web server point of view. Press F5 and, behold :
project.json
This file is used for defining your ASP.NET 5 application dependencies and other properties. Here a dependency on Microsoft.AspNet.IISPlatformHandler and Microsoft.AspNet.StaticFiles is sufficient.
Then you can add three main files:
- The package.json manages development dependencies: the various tools to process source files during the build process.
- The bower.json manages application dependencies: all libraries and frameworks that your application depends on.
- The gruntfile.js file is handling frontend application development build process. For example, watching for scss file changes to generate css, and minify javascript files for production deployment.
package.json
Add a dependency to grunt, injector, and wiredep. Injector and wiredep are used to modify your html files to include bower dependencies and your application source code.
bower.json
Add a dependency to angular, ui-router, and jquery. After saving, Visual Studio should start downloading those. Semantic versioning is used, and nicely explained here on StackOverflow
gruntfile.js
Here is a bit more work, add a wiredep and injector tasks. Wiredep is used for bower dependencies, and injector is used for application files.
injector: {
    options: {
        lineEnding: "\r\n", // this is a Windows centric sample ;)
        relative: true, // relative to injection target file
        addRootSlash: false
    },

    // application scripts injection sub-task
    appScripts: {
        files: {
            '<%= paths.app %>/index.html': [
                '<%= paths.app %>/app/**/*.module.js',
                '<%= paths.app %>/app/**/*.js',
                '!<%= paths.app %>/app/**/*.spec.js'
            ]
        }
    },

    // application css injection sub-task
    appCss: {
        files: {
            '<%= paths.app %>/index.html': [
                '<%= paths.app %>/styles/**/*.css'
            ]
        }
    }
},

wiredep: {
    app: {
        src: [
            '<%= paths.app %>/index.html'
        ]
    }
}
Both tasks will inject file references into your index.html, which will need adaptation :
<!DOCTYPE html>
<html>
<head>
    <meta charset="utf-8" />
    <title></title>

    <!-- bower:css -->
    <!-- endbower -->
    <!-- injector:css -->
    <!-- endinjector -->
</head>
<body>

    <!-- bower:js -->
    <!-- endbower -->
    <!-- injector:js -->
    <!-- endinjector -->

    <p>Hello</p>
    <div ng-app="app">
        <ui-view />
    </div>
</body>
</html>
Finally, add an angularjs controller inside an app folder :
(function () {
    'use strict';

    angular.module('app', [
        // Angular modules

        // Custom modules
        'app.home',

        // 3rd Party Modules
        'ui.router'
    ])
    .config(function ($urlRouterProvider, $stateProvider) {
        // For any unmatched url, redirect to /home
        $urlRouterProvider.otherwise("/home");
        // Now set up the states
        $stateProvider
            .state('home', {
                url: "/home",
                templateUrl: "app/app.template.html",
                controller: "HomeController",
                controllerAs: "home"
            });
    })
    .controller('HomeController', HomeController);

    function HomeController() {
        var vm = this;
        vm.title = 'Hello world';
    };
})();
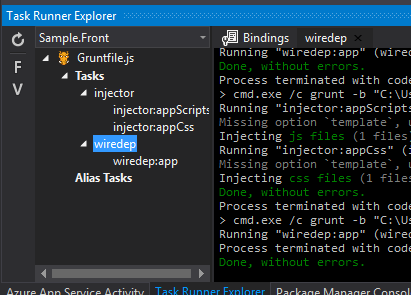
And run both wiredep and injector tasks from task runner :
The source repository for this article is on Github.